Tuesday, 10 January 2017

The Bitter Chill of Winter (Age of Sigmar)


My final battle from last week was against Nige (@NigelSBartlett) who was preparing for Heat 1 of the GT at Warhammer World with his Beastclaw Ogres.
As I have been doing in recent weeks, I asked Nige what he wanted to play and he correctly selected the Spiderfang! 

Scenario: Gifts from the Heavens

My list was the same last the previous weeks’ outing with them – something which is fairly straightforward: Boss, Giant Spiders, Small Spiders = A ton of black spiders!

Nige on the other hand took:

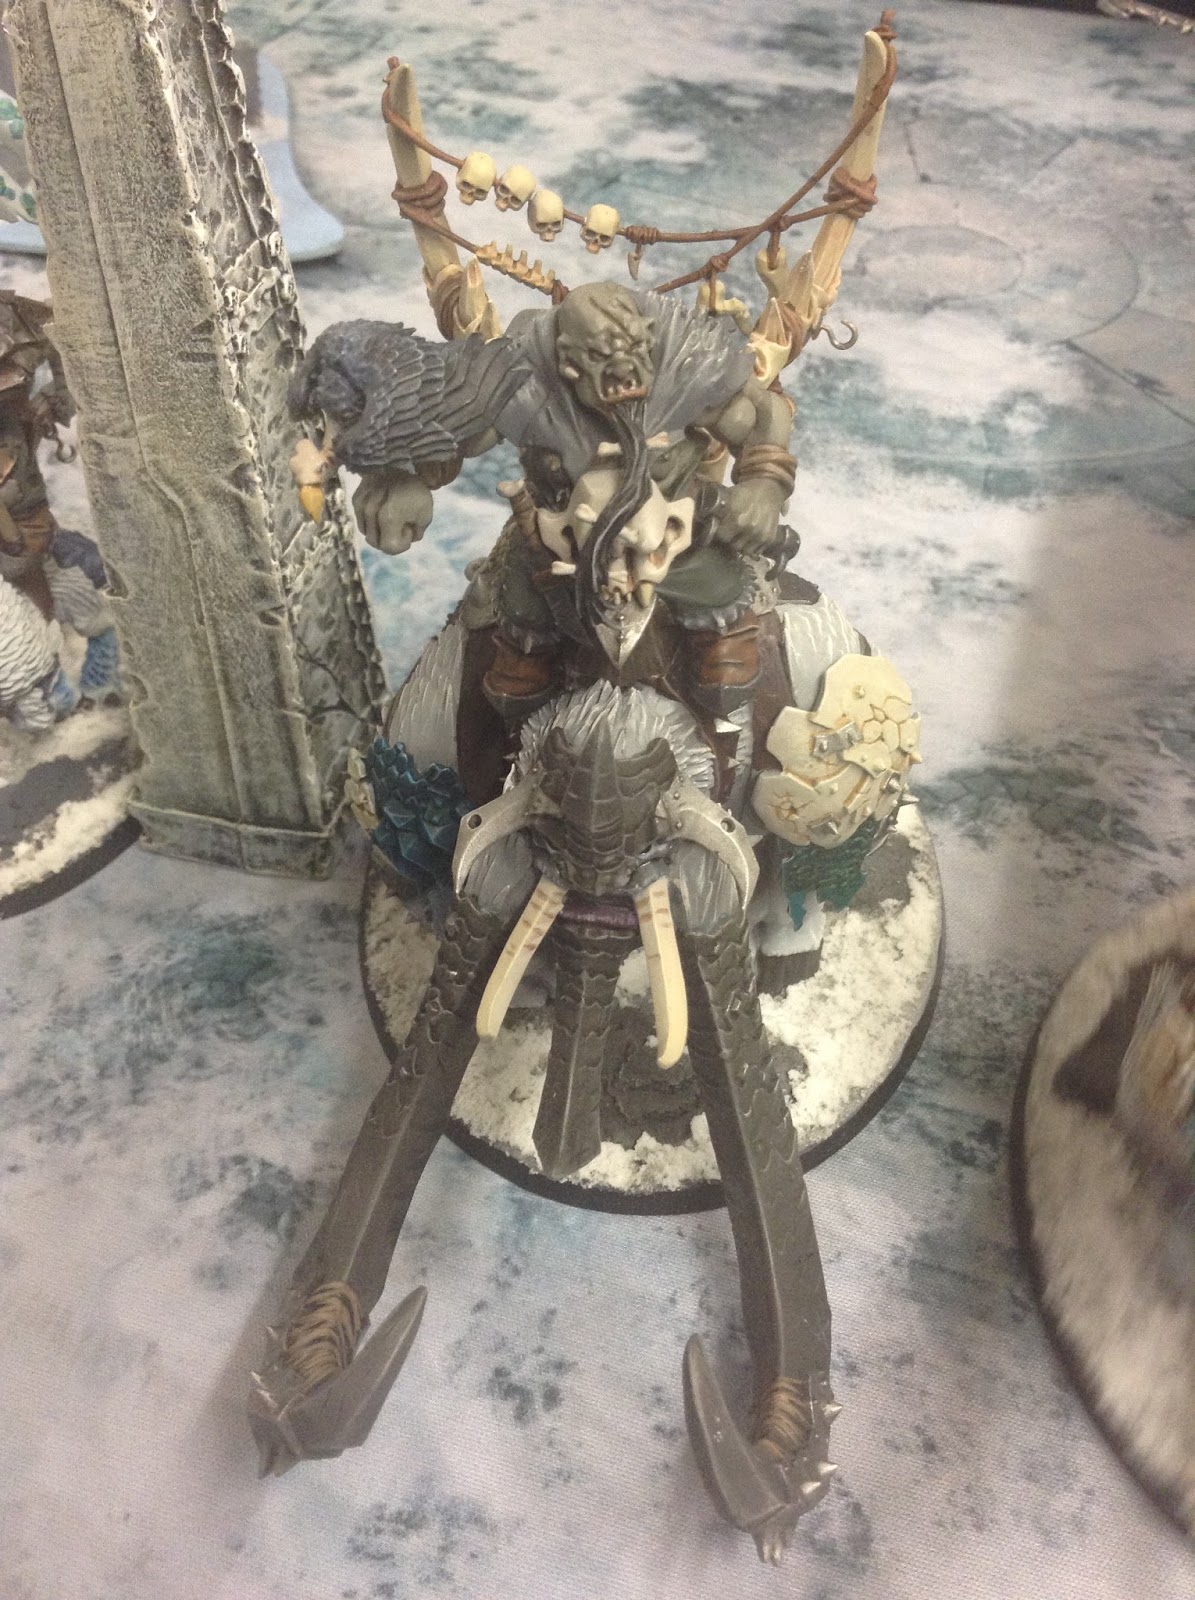
Now, I want to take a second to pause and showcase to you his models. If you can remember back to previous posts when I’ve talked about painting, he’s one of the ones I just want to punch in the face due to his ability with the (air)brush!


Right, are we suitably nerded out over painting? Good. Then we shall begin.

This is the first time that I’ve played this scenario and I must admit at the beginning I haven’t fully understood the scenario! The way I read it in the 30 seconds of skim-reading was that meteors crash down each turn but that wasn’t quite correct! As it happened, it didn’t make much difference but it did mean I have to shift my game plan midway through the second turn!


Two Good:
*The threat of wounds being dealt out on the charge by the ogres were nullified with the spiders jumping to the charge on the Stonehorn and the Mournfangs.
*One round of combat against the stonehorn pumps out 15 wounds (14 of which are mortal).
*Spider units dealt with units of mournfang by dealing mortal wounds.
*With re-rollable saves because of enchanted cover, the lord needed a double 6 to survive. After rolling a double 1, I then rerolled and came up with a double 6! Unbelievable Jeff!
*Spiders broke forward to go within 6" of Nige's meteor to deny him VPs for the final turn.


Two Bad:
*High rolls for Bravery made it easy for spiders to be killed off easily. 
*Weak armour value was easily nullified. 
*Not all models in the Spider Rider units could not attack, therefore their full potential could not be utilised. 
*Big Boss on Spider was left too exposed at the back and was promptly set upon by the Stonehorn and savagely eaten!


Lessons Learnt:
*Experiment with the possibility of splitting them into smaller units in order to gain more advantage from their poisoned attacks. 
*Take the Stonehorn down early!


I think overall Nige was quite surprised at the punch of the list. In return I didn't realise the power of the Mournfang when I don't have the buffs from the Lord and Araknarok on them. They crumbled fairly quickly - especially because of their rend ability on their weapons. Something to be expected but nevertheless, I paid for it in battleshock tests!

I feel I would have struggled more in this if the units of Mournfang were clumped together in 4s. As it was, I had an easier time iscolating and wounding the units which only needed 10 wounds to take down and even with a unit of 10 spiders, the damage which can be kicked out is enough to smash through units of 2 with some ease. 
It was a priority to break the lines and stop his Hunter and the cats from scoring. Eventually, I managed to do that but it was a very costly game in terms of models lost. 
Nige didn't have a great deal of things left at the end but, in truth - neither did I and that was due to the high volume to damage and wounds that Nige kicked out. 
In the end, a major victory for the Spiders but it could have been very different had the position of the 'gift' been near the Stonehorn or the centre of the board. 

This games was over in around 2 hours and we had enough time to play another game! Hurrah! 
This time, it was a different scenario but the same lists! After all, it was tournament practice for Nige and any practice is good practice. 
Now that he fully knows what the Spiders can do, I was expecting a much, much tougher game! 

So, we had: Scenario: Take and Hold
A very family scenario for me after playing it the day before and indeed a week before that and I would employ much the same tactic as I did with all of those games - Get a large unit which is just with 6" of the objective and denies the opponent being within 6". Simples! 

Nige began and set up like so:

And I set up: 

 Here we have a large unit of 20 spiders which will be buffed to high heaven with the Boss' and Araknarok's abilities in order to protect the objectives.

I needed to make sure that my line started as a whole and the aim in this game was to take Nige wide and collapse into the middle with what I've got. Almost a pincer movement, if you will.


Two Good:
*Spiders played a consistent line which drew the ogres forward.
*Using models, I was able to dictate where play went and draw the Mournfang into a battle in the middle of the field. This ensured that I could benefit from all available buffs.
*After the Stonehorn had breached my first line (see below... it's brutal!), I could then set upon it with 2 units of 20 if I so wished... so I wished...upon a star... and a spider god!
*10 spiders ran up the far edge (right hand side) of the board in order to grab the objective as Nige had not brought on his Hunter and cats yet...yet...


*After wrapping with the spiders and taking out the Stonehorn, the spiders went to the Thundertusk and caused enough mortal wounds to remove it from the table.
*10 spiders managed to hold off the assault of 6 cats - admittedly 2 at a time before engaging the Hunter to deny control of the objective.

Two Bad:
*Stonehorns hurt... they hurt so bad that 18 spiders were removed from his attacks... Even with Mystic Shield on them!

*Mystic Shields and Arcane Bolts could not be cast for love nor money after the first turn!

Outcome: Minor Victory to the Spiderfang!

Lessons Learnt:
*Unlike the first game, I allowed the charge to come on to me and I paid a heavy price for that in the form of losing a lot of models again. I should have taken the advantage of having the numbers and then worried about claiming the objectives in the later turns of the game.
*I think that I controlled the board well with the spiders and managed, for the most part, to dictate where options were made available for Nige to take advantage of. The problem here was, Nige did his job too well and was free to pick apart the rest of my army bar two units of spiders, boss and the Araknarok. This forced me to pile all of my eggs into one basket but fortunately for me, it came off in this game.

Although I got through the game with a minor victory, I felt that Nige had control of the game through his combat prowess. It was priority to remove the Stonehorn and Thundertusk before they did an awful amount of damage... well... that was semi-successful but the devestation of the Stonehorn caused a great deal of disarray in the backfield as I scrambled to deal with it before it got on top.


I really enjoyed these games against Nige and it was excellent to play him at something other than 40k. The army he is using is beautiful and he does play it well - it packs a lot of punch! I'm not sure he was fully expecting the power that came from the fangs!


In other news, there were a few other battles taking place while Nige and I locked horns - James' Nighthaunt force took on Nick's (@slaaneshfiend) Tomb Kings!


I mean, explanations aren't quite needed here... Tomb Kings are busted!!!


The final game of the evening was Gareth (@gcp129) pitted his Stormcast off against Si's (@irons1de1) Destruction force (Ogres and Orks).


Well, that's it from me for this week's games but I do have at least one lined up for this coming Thursday!

Thanks for reading.
I'll see you soon!

@geekphotoguy

Bloodward Bound (Age of Sigmar)


So last week I embarked on a game or two against two different opponents – which I will cover in two posts as the focus of the games played were very different.
First, I faced off against Keith who has been building a sizable Bloodbound list and over recent weeks has been experimenting with different combinations and lists.
This week we played 1500 points with the Take and Hold Scenario from the General’s Handbook.

As you may have read, I’ve been working through my factions in order to have many different things to play. Specifically, one army for each faction so I can vary play styles and choices for opponents.
For this game, I’ve got Chaos and it’s a bit of a miss-match with what I’ve chosen but these are the only models I really want to play from Chaos as they are big beasties and for me, that’s what Chaos is all about. I did omit for this battle two hellcannons and replaced them with a few other bits and pieces – notably amongst them, a Vortex Beast.

I took:
Yeah, say nothing!

Keith took:


Our deployment looked a lot like this:


With the take and hold scenario, I needed to get across the board quickly, the problem is that getting across the board against a horde would be difficult. The best I could hope for was a minor victory on destroying units. Therefore, it was the tactic to go for smaller units to rack up the points, hoping for a break in the line in order to grab the objective in Keith’s deployment zone. 

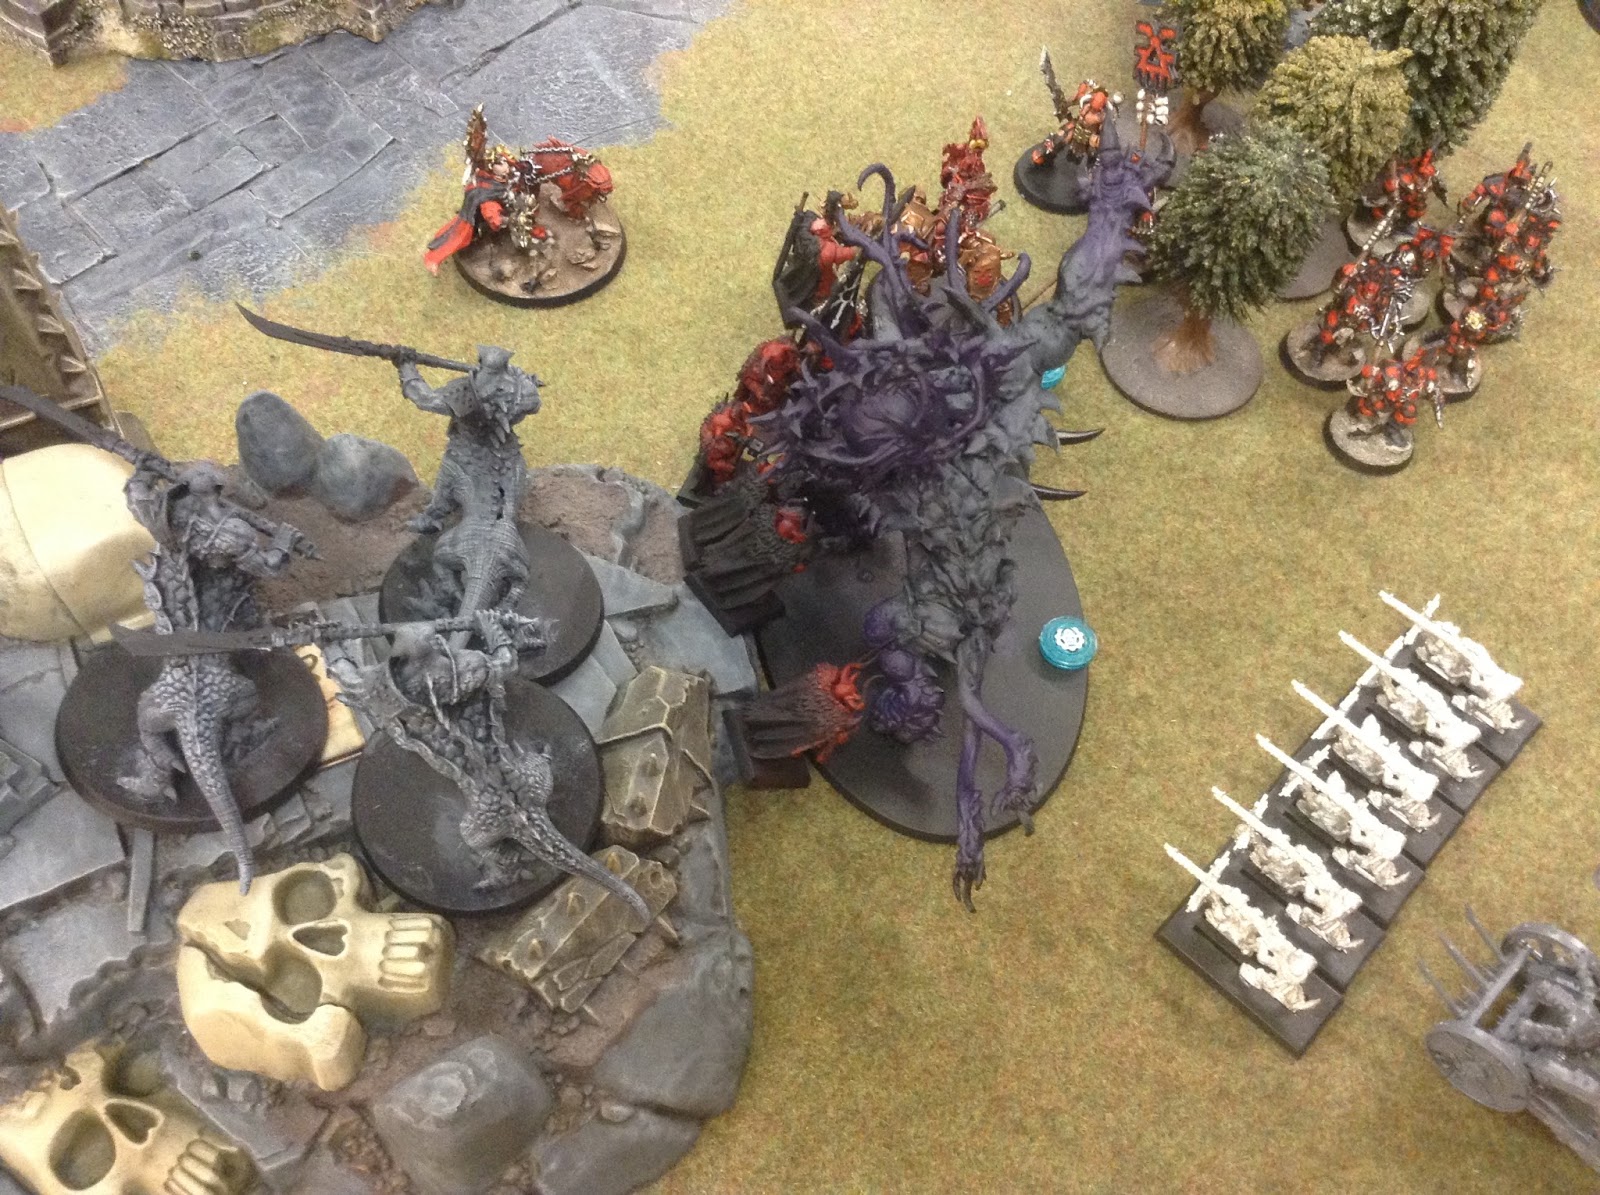
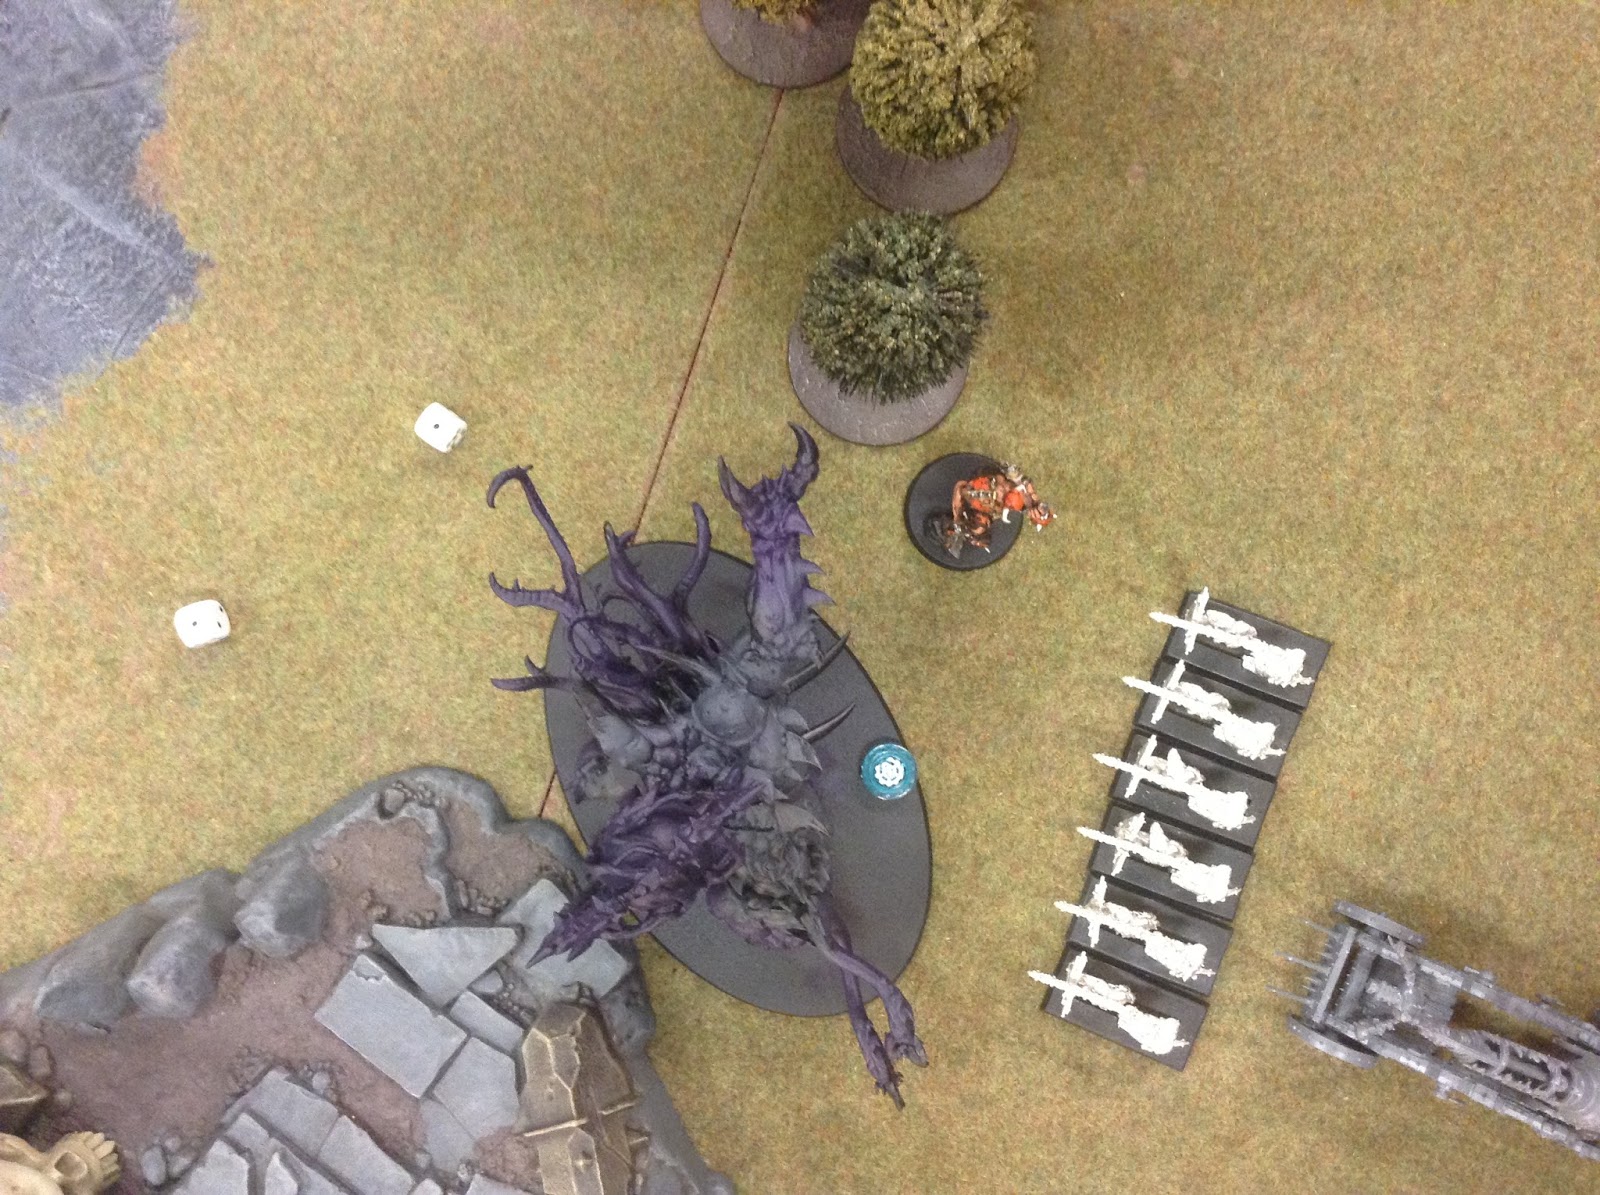
In the middle of the board, I set up my Vortex Beast, Warp Lightning Cannon and the Lord of Khorne. In order to secure my objective I would use the scenery and the Vortex Beast as a road block while I try and sweet across the board and collapse into the middle. 

Two Good:
*Vortex Beast and Lord of Khorne churn through a unit of Chaos Warriors over 4 turns.
*Shaggoth dealt 8 wounds to the Bloodletters in a single combat!
*Warp Lighting Cannon and Jezzails remove a unit of Blood Reavers. 
*Dragon Ogres and Lord of Khorne finish off Keith's Lord!


Two Bad: 
*Warp Lighting Cannon rolls a 5 and 6 for it's target number on three consectutive turns, resulting in no wounds being dealt. 
*Keith forget the abilities of the warriors - which would have perhaps added a couple of extra wounds to the Lord or Vortex Beast. 
*Khorne Riders fail to get the charge off, leaving the Dragon Ogres to smash into them and remove them from the table.  
*Three Dragon Ogres walk across deadly terrain... two of them come out the other side!
*Now, I can't remember what exactly this was for - I think it was saves! This is what happened...

Other action


In the end, it was a minor victory as I didn't hold Keith's objectives. Left on the table were the remains of Keith's army (Demon Prince, Blood Champion dude and a Korgorath).

Overall, not a bad game and the models that I had hit with power. I was slightly worried that I would get overwhelmed by models which would threaten my objective but the models I had were well matched against the Khorne Force. 
It would have been a different story I think if the bloodletters and the Demon prince were put in the middle of the board and used as a 'second wave' of attack witht heir sowrds. 
Essentially, I needed to hold the middle and try and the a major victory on the flank by driving through and on to the objective by splitting Keith's force between the beasts at the front and the beasts on the side. 
I think Keith could have won the game had he of swung the Blood thingys of Khorne of Juggernauts in first, or left them slightly back so they get their bonuses for charging and then after breaking the lines, get through and finish off the Skaven, creating a major victory. 

I do have another game against Keith this week, this time I'll be using my Stormcast list which I'll pop up soon! 

Oh, on a side note my Death army took an unexpected twist when I got these guys... 

Now to build them!

Anyway, that's all from me! 
Thanks for reading, I'll see you soon!

@geekphotoguy

Sunday, 1 January 2017

A Token Gesture? (Age of Sigmar)

I always get in a muddle when pushing large armies round the tabletop who has what ability, how many wounds they've taken, whether they've activated or not or what buffs/debuffs they've recieved during that turn.
You may have seen in some of my battle photos (or if you watch Facebook Live) that I have started using tokens in my AoS games in order to keep track of information within the game. It's not something that I'm saying everyone should do and it should be a core rule within the game but it is just something which just provides a bit of clarity to your opponent what's what when they are assessing the board state.
Unlike other games out on the market, GW games - due to their large volume of models - tend to be a very 'closed' system some times with limited transparency between players which can lead to misjudgement in actions in the game, sometimes leading to a negative play experience for one or both players.

I recall a game I had against a player at WS10 a few years ago where their unit of rather flimsy warriors engaged in combat with a unit of seeminly standard marines, however because of buffs that had been given to that unit and the player forgetting what had happened in the previous turn, they met their doom as rabid power axe and power sword wielding deathcult assassins struck with deadly accuracy to tear them limb from limb. Now, no-ones fault in this situation but had I have had a marker of some description down - like in other games - then this may have helped that player's judgement as they went hurtling up the board and into some pretty aggresive women disguised-as-Chaos-Warriors-because-that-was-the-done-thing-in-those-days-instead-of-paying-£10-for-two-assassins...okay?! Anyway, I am by no means saying that other games systems are better or far superior to the GW games, that's for a player to decide, but I'm saying that they are often more transparent in their playability in order to give your opponent all information.

Now, you'll be reading this and you'll probably make the following points:
*A player should ask another player about that abilities/buffs which have been given to a unit.
*You should be talking to your partner at the table letting them know what your units have on them/any abilities they possess.
*You're wrong. It's my opponent's problem if he's too stupid to remember things.
*It's a very open-information setting anyway, they have access to information if they need it.
*Good/Regular players will know what things do therefore it should be no surprise if they make a decision and something unexpected happens.

And, of course, you would be right. However, this is my blog - therefore my opinion!


I've used these little things so far in my battles:


If you don't know - they're Warmachine Token Sets. They are used for many things - mainly in Warmachine, however they have blank tokens which are labelled 'Spells' and even had larger tokens (you can see there are 3 of them more or less in the centre of each picture) which are very handy to use to keep track of casulaties suffered during a combat/turn.
Example:
I even use it for VP:


So what? Wow, coloured tokens! What a way to sharpen up your game! What's the point?
Well, for me:
*No way of knocking over/accidently using them as dice.
*There is no limit to the number you can put on them (case and point above - my VPs going to 23).
*They are flexible so you can use them to mark terrain, wounds, casulties, spells, VPs and more.
*Hard wearing so they can be used over and over.

Now, like anything there are downsides:
*In close quarters, you can mix tokens up (easily fixed if you place them on bases, etc)
*Things can get wiped off
*You can forget to update information on them.

There are of course pros and cons for anything. However, the cons can be easily fixed!

Additionally there are these beauties:

These are base hugging blank tokens which serve the same effect as the other tokens but they slot right onto the base of a model, therefore making it blatantly clear what that model's ability/buff is.

I haven't actually used them yet but I will be using them for two things - General Trait and Artefact! Every game I've played so far I just completely forget about them and one day it will cost me!

Using these it provided a very transparent view of the game. I know in other games systems where things need to be tracked carefully they are a great help.
Maybe something to consider in tournaments or games to help with tracking?

Like I said, I think they're great! They're so easy for you and your opponent to use (and you can get them as you want them) and they work in so many ways: to help you remember, to share information with your opponent, to decipher terrain and to even keep track of who has activated in combat/movement/shooting phases.

Thanks for reading.
I'll see you soon!

@geekphotoguy


2017's Painting Challenge

Happy New Year!
I do hope that those who are reading this will have an amazing 2017.

Just a quick blog to get going with the 2017 painting contest. At my local gaming club (WS10), they have a number of exceptional painters. I, of course, am one of those... :-/ HA! I'm not! Anyway, there are a number of painters at that club who make me feel really bad about my painting skills and each month over the course of 2016 the club did a painting challenge in which people 'pledged' a set of figures to paint over the course of the month. Now, I started this very enthusiastically but after the first 10 minutes of painting a model my interest suddenly waned. 
My painting skills are at best, lacklusture as I don't really have the time to dedicate to getting better or indeed painting a full army of anything. I think the last army I painted was an Empire force full of about 100 horsemen around 8/9 years ago but even that was rushed and not taken very good care of.

One thing I have found myslef being good at is drybrushing. A technique within itself but one that many people categroize at the 'lazy' way to paint. Nevertheless, I can wrack up a unit in an afternoon! I keep promising myself that I'm going to get better at painting but every time I see tutorials online there are a number of things that hold me back - excuses being one of them. You know the old scenario - no the right paints, haven't got the right model, can't get things done in the time you have, etc. Yep, I've used them all.

I've decided this time thatI would try and get on the painting bandwagon again and see how long it lasts. Like I've said in previous posts, I'm hoping to get more stuff painted and ideally, I'd like to have fully painted armies for each of the AoS factions - something that I don't think I've ever had! Along with that will come the great sort out of random crap that I really don't need. I've got some Guild Ball, Malifaux and other AoS bits and pieces that I need to get rid of in order to streamline and consolodate what I have.

Right, the painting challenge! It has been the wisdom of Stu (@CaptainHelvetos) that in addition to a 'pledge' painting challenge that this should take its course:

"In January you will need to build and paint a Champion / HQ model. for the next 9 months your choices for the unit to commit too will be decided by a dice roll! this is explained below.
AoS (D6) 40k (D6)
1-2 Follower (Battleline) 1-2 Troop
3-4 Retinue (non-battleine) 3-4 FA
5-6 Hero (leader) 5-6 Elite / HS
November will allow a special unit to be painted of your choice whether it be a large behemoth or LoW etc ready for the Port Maw game or AoS big game."

Seems fair, right? Well, here we go - my painting for the coming 9 months!

I'm going to be doing a Death army and a Stormcast painting project. In fairness, the Stormcast may get done slightly quicker, depending if I need them to go to tournaments! But the Death is a long term project which I'll be building up slowly.

I have seen the most amazing Black Coach on Twitter today by @tinracersteve which is just incredible. To be fair, I was thinking about buying the Nighthaunt box but I didn't know what to do with the Coven Throne. Now I do! Take a look at this:


Great, right?! Anyway, on with my feeble attempts. 
So this month it's a Champion/Hero/Leader choice so I've elected to paint a Tomb Banshee and a Lord on Dracoth. 

Here is what I've got so far:


 To be fair, the Dracoth has had a bit more work to it but I've just taken it after I did the scales... one by one...

Here's the progress throughout the day:
Dracoth:


So far, I've got the scales done, the armour plating and the skin. I'm in the process of doing the bones and the Lord himself. I've painted the cloth and the reigns a very light blue but I am slightly unsure about their overall impact on the model. I may have to revisit it and get it maybe a deep purple to be in keeping with the beast himself.

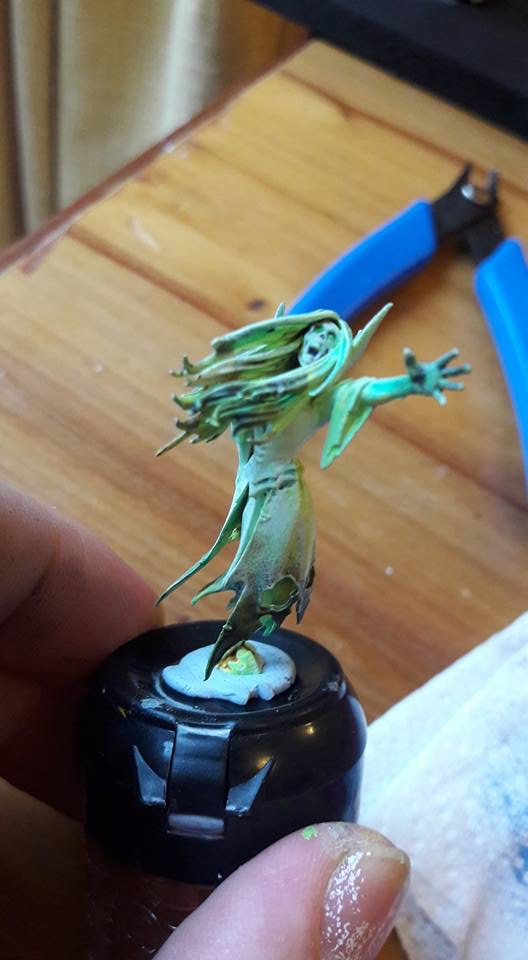
Now on to something which I'm actually quite proud of despite it being only 45min/1hrs worth of work - Tomb Banshee.
Here she is completed (in case you forgot from the top photo):


I saw a 'step by step' guide by a guy called Martin Grandbarbe on an Age of Sigmar group on Facebook which showed off his ghostly painting and I went to back to that - 'I haven't got the right paints.' kind of scenario but then I thought, I could do something similar with what I've got.
There I went, step by step to create her:


I really liked Martin's style of how he painted the robes almost fading into the bleakness and I thought that would be something I can replicate. What I can't do/haven't done yet is the really bright ghostly white he did for his models, especially in the middle but I'm happy with the outcome I've produced.

In case you were wondering, here is Martin's work:


So far this month, I've painted by Hero for the Death Force and am nearly done with my Dracoth... all this in one day! Roll on February!!!

I'll keep you updated on my progress.
Thanks for reading.

I'll see you soon!

@geekphotoguy