So last week I embarked on a game or two against two
different opponents – which I will cover in two posts as the focus of the games
played were very different.
First, I faced off against Keith who has been building a
sizable Bloodbound list and over recent weeks has been experimenting with
different combinations and lists.
This week we played 1500 points with the Take and Hold
Scenario from the General’s Handbook.
As you may have read, I’ve been working through my factions
in order to have many different things to play. Specifically, one army for each
faction so I can vary play styles and choices for opponents.
For this game, I’ve got Chaos and it’s a bit of a miss-match
with what I’ve chosen but these are the only models I really want to play from
Chaos as they are big beasties and for me, that’s what Chaos is all about. I
did omit for this battle two hellcannons and replaced them with a few other
bits and pieces – notably amongst them, a Vortex Beast.
I took:

Yeah, say nothing!
Keith took:

Our deployment looked a lot like this:


With the take and hold scenario, I needed to get across the
board quickly, the problem is that getting across the board against a horde
would be difficult. The best I could hope for was a minor victory on destroying
units. Therefore, it was the tactic to go for smaller units to rack up the
points, hoping for a break in the line in order to grab the objective in Keith’s
deployment zone.
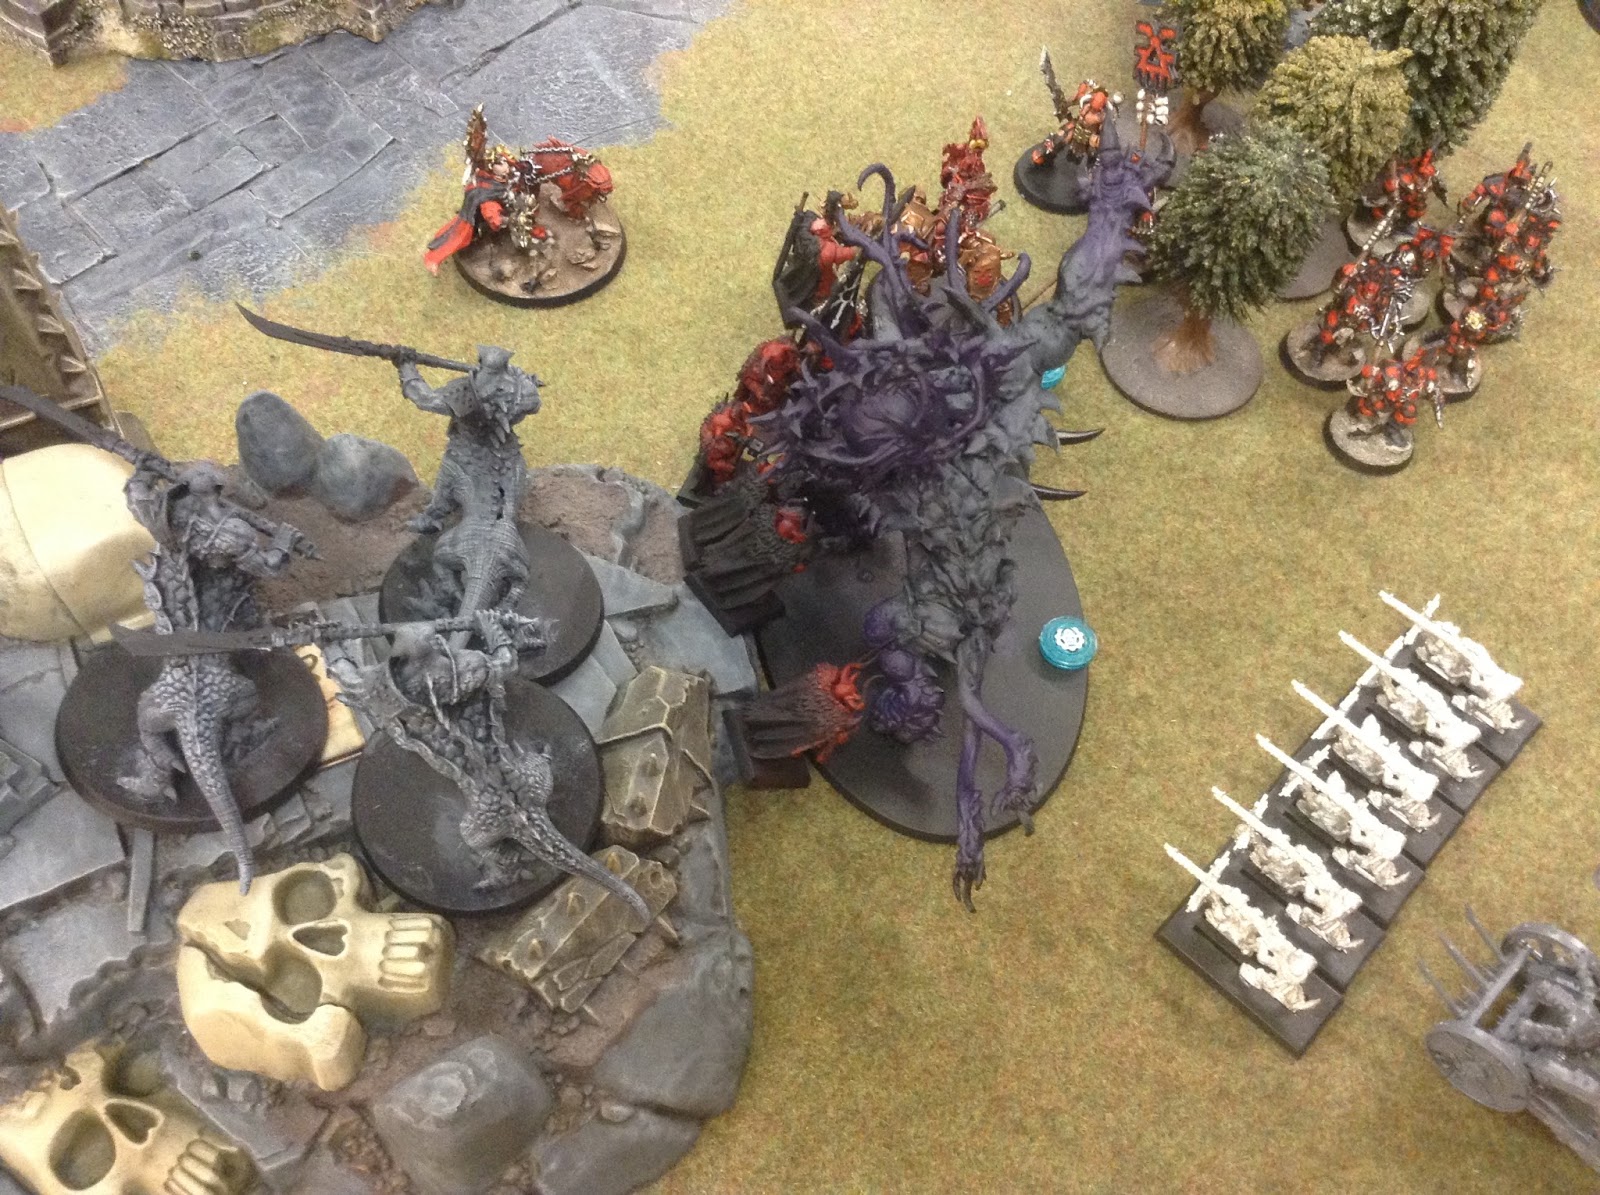
In the middle of the board, I set up my Vortex Beast, Warp Lightning Cannon and the Lord of Khorne. In order to secure my objective I would use the scenery and the Vortex Beast as a road block while I try and sweet across the board and collapse into the middle.
Two Good:
*Vortex Beast and Lord of Khorne churn through a unit of Chaos Warriors over 4 turns.
*Shaggoth dealt 8 wounds to the Bloodletters in a single combat!
*Warp Lighting Cannon and Jezzails remove a unit of Blood Reavers.
*Dragon Ogres and Lord of Khorne finish off Keith's Lord!


Two Bad:
*Warp Lighting Cannon rolls a 5 and 6 for it's target number on three consectutive turns, resulting in no wounds being dealt.
*Keith forget the abilities of the warriors - which would have perhaps added a couple of extra wounds to the Lord or Vortex Beast.
*Khorne Riders fail to get the charge off, leaving the Dragon Ogres to smash into them and remove them from the table.
*Three Dragon Ogres walk across deadly terrain... two of them come out the other side!
*Now, I can't remember what exactly this was for - I think it was saves! This is what happened...

Other action


In the end, it was a minor victory as I didn't hold Keith's objectives. Left on the table were the remains of Keith's army (Demon Prince, Blood Champion dude and a Korgorath).

Overall, not a bad game and the models that I had hit with power. I was slightly worried that I would get overwhelmed by models which would threaten my objective but the models I had were well matched against the Khorne Force.
It would have been a different story I think if the bloodletters and the Demon prince were put in the middle of the board and used as a 'second wave' of attack witht heir sowrds.
Essentially, I needed to hold the middle and try and the a major victory on the flank by driving through and on to the objective by splitting Keith's force between the beasts at the front and the beasts on the side.
I think Keith could have won the game had he of swung the Blood thingys of Khorne of Juggernauts in first, or left them slightly back so they get their bonuses for charging and then after breaking the lines, get through and finish off the Skaven, creating a major victory.
I do have another game against Keith this week, this time I'll be using my Stormcast list which I'll pop up soon!
Oh, on a side note my Death army took an unexpected twist when I got these guys...

Now to build them!
Anyway, that's all from me!
Thanks for reading, I'll see you soon!
@geekphotoguy
No comments:
Post a Comment